English
 Español
 简体中文
Content
- 1 What Is Injection Molding and How Does It Work?
- 2 Anatomy of an Injection Molding Machine
- 3 How Does Injection Molding Work? The Step-by-Step Cycle
- 4 The Mold: Where the Part Geometry Is Created
- 5 Injection Molding Materials: Choosing the Right Thermoplastic
- 6 Designing Plastic Parts for Reliable Injection Molding
- 7 Common Injection Molding Defects and How to Correct Them
- 8 Where Injection Molding Is Used: Applications Across Industries
- 9 How to Choose a Reliable Injection Molding Manufacturer, Supplier, or Wholesaler
- 10 Frequently Asked Questions About Injection Molding
- 10.1 How does injection molding work?
- 10.2 What is a typical injection molding cycle time?
- 10.3 What materials can be used for injection molding?
- 10.4 Is injection molding cost-effective for small quantities?
- 10.5 What tolerance can injection molding hold?
- 10.6 What is the difference between a cold runner and a hot runner mold?
- 10.7 How do I choose an injection molding manufacturer or supplier?
- 11 Final Thoughts: Making Injection Molding Work for Your Product
What Is Injection Molding and How Does It Work?
Imagine your engineering team has just finished the 3D model of a new sensor housing. The next question is never only about the design; it is about how the part will be produced in volume. Injection molding is usually the fastest answer. So how does injection molding work? In simple terms, the process works by melting plastic granules, forcing the molten material under high pressure into a closed steel mold, and allowing it to cool until the cavity shape is locked into a solid part. The entire sequence repeats automatically, often within 20 to 60 seconds, which is why injection molding is the most widely used process for mass-producing plastic components.
Injection molding is a manufacturing process in which thermoplastic or thermoset polymers are heated to a viscous state, injected into a mold cavity, and then cooled or cured to form a solid part. The same principle applies whether the product is a small connector, a large instrument housing, or a complex automotive bracket. What changes from job to job is the mold geometry, the material, and the machine parameters such as temperature, pressure, and cooling time.
The process has dominated plastic manufacturing for more than seventy years because it offers four advantages that few alternatives can match: high output rates, low per-part cost at volume, excellent repeatability, and the ability to form complex geometry directly in a single operation. Combined with the huge number of available plastic grades, these advantages explain why injection molding remains the default choice for everything from kitchen appliances to industrial automation equipment.
Anatomy of an Injection Molding Machine
To understand how injection molding works, it helps to look at the machine that performs the job. A standard plastic injection molding machine consists of three main groups: the injection unit, the clamping unit, and the control system that coordinates them. Each group plays a distinct role in the cycle, and the performance of each one directly affects part quality and productivity.
The Injection Unit
The injection unit is the part of the machine that melts the plastic and delivers it into the mold. Plastic granules are poured into a hopper and fed into a heated barrel. Inside the barrel, a reciprocating screw rotates to convey the granules forward while heater bands melt them into a homogeneous viscous melt. When enough material has accumulated in front of the screw, the screw moves forward like a plunger and forces the molten plastic through the nozzle and into the mold. The screw also mixes the melt and helps control melt temperature, so the quality of the final part begins right here.
The Clamping Unit
The clamping unit holds the two halves of the mold together against the pressure of the injected plastic. One platen is fixed, the other moves along tie bars. During injection, pressure inside the cavity can reach several hundred bar, and if the clamping force is insufficient, the mold opens slightly and produces flash. Clamping systems are usually hydraulic or toggle-driven, and the required clamping force is one of the first numbers an injection molding supplier calculates when quoting a new project.
Control and Auxiliary Systems
Modern injection molding machines are supported by a control system that monitors and adjusts temperature, pressure, screw speed, and cycle timing. Around the machine, auxiliary equipment handles tasks that shape quality: hopper dryers remove moisture from hygroscopic materials, mold temperature controllers keep the steel at the correct temperature, and automation robots remove finished parts or place inserts. On the production floor, these systems work together to maintain a stable process window throughout a long production run.
| Component | Function | Why it matters |
|---|---|---|
| Hopper | Stores and feeds plastic granules into the barrel | Constant feed keeps the shot weight consistent |
| Barrel and heater bands | Melt the plastic by conduction | Melt temperature controls flow and final part quality |
| Reciprocating screw | Mixes, melts, and injects the polymer | Screw design affects plasticizing and shot control |
| Nozzle | Connects the barrel to the mold sprue bushing | Seals the melt path and prevents drooling between shots |
| Clamping unit | Opens, closes, and locks the mold | Clamp force prevents flash and keeps dimensions stable |
| Control system | Sets and monitors process parameters | Repeatability depends on closed-loop process control |
How Does Injection Molding Work? The Step-by-Step Cycle
The fastest way to answer the question "how does injection molding work" is to follow one complete cycle from start to finish. A typical cycle lasts between 20 and 90 seconds depending on part size and wall thickness, and it contains six clearly defined stages.
1. Mold Closing and Clamping
The movable platen pushes the mold halves together, and the clamping unit locks them with the required tonnage. This step looks simple, but it sets the foundation for every dimension of the part. If the mold does not close completely, plastic will escape and form flash along the parting line.
2. Injection
The screw advances and pushes the molten plastic through the nozzle, sprue, runner, and gate into the cavity. Injection pressure is typically between 40 and 130 MPa, which is enough to fill fine details such as ribs, snap-fit features, and thin wall sections. Injection speed is usually controlled in stages to avoid defects like jetting or trapped air.
3. Packing and Holding
Immediately after the cavity is filled, the machine switches to holding pressure. The plastic shrinks as it cools, so the screw continues to push a small amount of material into the cavity to compensate for that shrinkage. Holding pressure is generally lower than injection pressure but must be maintained until the gate freezes off, or the part may develop sink marks, voids, or poor dimensional stability.
4. Cooling
The part remains inside the closed mold while heat transfers from the plastic to the mold steel and then to the cooling water circulating through the mold. The part only becomes dimensionally stable when its temperature drops below the material's heat deflection temperature. Because polymers are poor heat conductors, this is usually the longest stage of the cycle.
5. Mold Opening
Once cooling is complete, the clamp releases, and the moving platen retracts to open the mold. The part continues to shrink slightly as it cools in open air, which is why a part that fits tightly in the cavity at ejection may still meet specification after it reaches room temperature.
6. Ejection
Ejector pins push the part out of the mold. For parts with deep undercuts, core pulls or collapsible cores move first to free the plastic, and robots may then grip the part and place it on a conveyor. The machine then closes the mold and starts the next cycle automatically.
Cycle time is the single largest driver of manufacturing cost in injection molding, because the same mold and machine produce one part per cycle. Many buyers assume that injection speed determines cycle time, but that is not the case. In practice, most of the cycle is spent waiting for the plastic to cool below its forming temperature. The chart below shows a representative time distribution for a mid-size part with a 2.5 mm wall made from a standard thermoplastic. The exact percentages change with wall thickness, material, and mold cooling design, but the overall ranking remains similar in most production runs.
Where Time Goes in a Typical Injection Molding Cycle
The chart makes one point very clear: cooling occupies roughly 60 percent of the cycle. There is nothing unusual about this number, because polymers conduct heat poorly and the mold can only remove heat at the rate allowed by the material. A thin-walled part cools faster, while a thick structural rib can dominate cooling time. This is why design guides always recommend uniform wall thickness. Even a small reduction from 3.0 mm to 2.5 mm can reduce cycle time by a measurable amount and lower the unit cost.
Packing and holding time is the second largest block because the gate must stay open long enough to feed material into the cavity as the plastic shrinks. If holding stops too early, the part develops sink marks or voids; if it lasts too long, the part sticks in the mold. Injection itself is surprisingly short, often under two seconds, because the melt is forced in at high speed. Mold closing and ejection are mechanical steps limited by machine motion and safety guards, so they rarely offer much room for saving time.
For the person buying molded parts, the takeaway is practical. A supplier that invests in well-designed cooling channels, mold thermal control, and process monitoring can cut cycle times without sacrificing quality. That capability shows up directly in the quotation, because machine-hour rates are multiplied by cycle time. When you compare quotes from injection molding manufacturers, the fastest cycle is not always the best, but a process that wastes cooling time will never be the cheapest over a long production run.
The Mold: Where the Part Geometry Is Created
The mold is the most important and the most expensive part of an injection molding project. It is a precision tool made from hardened steel that contains a negative impression of the product. Every detail in the plastic part, from a snap-fit lip to a lettering mark, comes from a corresponding feature in the steel. Understanding the mold structure is essential for anyone who wants to know how injection molding works at the level of detail that matters during procurement.
Anatomy of a Mold
- Core and cavity: the two main halves that form the inside and outside surfaces of the part.
- Parting line: the line where the two mold halves meet; its location affects flash, draft, and ejection.
- Sprue, runner, and gate: the melt delivery system that carries plastic from the nozzle to the cavity.
- Cooling channels: drilled passages where water flows to remove heat evenly from the part.
- Ejector system: pins or blades that push the cooled part out of the cavity.
- Vents: thin slots that allow trapped air to escape during filling.
How the Mold Is Manufactured
Mold making starts with the part design and a review of material shrinkage. Toolmakers use the shrinkage value to scale the cavity up so that the cooled part lands on the target dimension. CNC machining centers cut the steel blocks, electrical discharge machining forms deep corners and narrow ribs, and mold polishers finish the surfaces to the requested texture. A typical production mold takes 4 to 10 weeks to build depending on complexity. In our own workshop, the mold is machined in-house on more than 20 machining centers, which shortens communication loops and makes design changes easier to manage.
Common Mold Configurations
Two-plate mold
The simplest and most economical configuration. The parting line is a single plane, and the runner is removed with the part after ejection. Best for straightforward parts and lower tooling budgets.
Three-plate mold
Uses a second parting plane to separate the runner from the part before ejection. Allows multiple gate positions and is useful for parts that need a centered gate.
Hot runner mold
Keeps the runner melt hot with internal heaters, so no runner scrap is produced. More expensive and more complex, but ideal for high-volume parts where material savings matter.
Insert and overmold tooling
Molds plastic around a pre-placed metal or plastic insert, or over an existing substrate. Used for threaded inserts, soft-touch grips, and two-material parts.
Injection Molding Materials: Choosing the Right Thermoplastic
Injection molding works with almost every thermoplastic, but the material choice has a direct influence on cycle time, mold design, shrinkage, and the final mechanical properties of the part. A material that is too flexible for a structural bracket or too brittle for a snap-fit will cause problems in testing even if the mold is perfect.
Commodity Thermoplastics
Polypropylene, polyethylene, polystyrene, and ABS are the everyday workhorses of the industry. Polypropylene offers good fatigue resistance and is widely used for hinges, living hinges, and household products. Polyethylene provides chemical resistance and toughness. Polystyrene is hard and brilliant but brittle, which makes it suitable for boxes and transparent display items. ABS combines stiffness and impact resistance, and it is one of the most common materials for housings, enclosures, and appliances.
Engineering Thermoplastics
When parts need higher strength, heat resistance, or dimensional stability, engineers turn to materials such as polycarbonate, polyamide, acetal, PMMA, and PC/ABS blends. Polycarbonate is transparent and impact-resistant, but it absorbs moisture and requires careful drying. Polyamide resists wear and is used for gears, clips, and under-hood automotive parts. Acetal has low friction and excellent dimensional stability for precision parts. PMMA provides glass-like clarity for lamp covers and display lenses. Filled grades with glass fiber or mineral reinforcement improve stiffness and reduce shrinkage, which is essential for large housings and structural components.
How Shrinkage Affects the Choice
Every plastic shrinks as it cools, but the rate varies widely. Polypropylene might shrink about 1.5 to 2.5 percent, while a glass-filled polyamide can shrink below 0.5 percent. The mold is machined larger than the drawing by the expected shrinkage amount. If the material is changed after the mold is built, the part dimensions will shift. That is why material selection should be finalized before tooling begins, and why a good supplier always reviews the material and shrinkage assumptions before cutting steel.
| Material | Typical shrinkage | Representative parts | Key strength |
|---|---|---|---|
| Polypropylene (PP) | 1.5 to 2.5% | Living hinges, containers, automotive interior parts | Fatigue resistance and low cost |
| ABS | 0.5 to 0.7% | Housings, instrument shells, appliance bodies | Impact strength and surface finish |
| Polycarbonate (PC) | 0.5 to 0.7% | Transparent covers, safety components | Transparency and impact resistance |
| Polyamide (PA66) | 1.0 to 1.5% | Gears, clips, brackets, filter components | Wear resistance and strength |
| Acetal (POM) | 1.8 to 2.2% | Precision gears, cams, sliding parts | Low friction and dimensional stability |
| PMMA | 0.3 to 0.6% | Lamp covers, display windows, lenses | Optical clarity and weatherability |
Designing Plastic Parts for Reliable Injection Molding
A part that is easy to mold costs less, has fewer defects, and holds tighter tolerances. The design choices made before the mold is built are deeply connected to how injection molding works in practice, so every engineer who sends drawings to a manufacturer should understand a few basic rules.
Wall Thickness
Keep walls as thin and uniform as possible. Typical wall thicknesses range from 1.0 mm to 4.0 mm depending on material and part size. Thick sections cool slowly, create sink marks, and increase cycle time. Where the design requires added stiffness, use ribs instead of making the whole wall thicker.
Draft Angles
All vertical faces should have a slight taper, known as draft, so the part can leave the mold without sticking. A draft of 1 to 3 degrees per side is typical, with deeper parts requiring more draft. Without sufficient draft, ejection forces rise and parts may be scratched, distorted, or broken during ejection.
Ribs, Bosses, and Corners
Ribs should be about 50 to 60 percent of the adjacent wall thickness to prevent sink marks. Bosses used for screws need adequate wall thickness without being too heavy. Sharp corners act as stress raisers and restrict plastic flow, so add radii wherever possible. Generous fillets help the melt fill the cavity and reduce molded-in stress.
Undercuts and Side Actions
An undercut is a feature that prevents a part from being ejected straight out of the mold. Holes in a side wall, external threads, and snap-fit hooks are common undercuts. They can be formed with side actions or core pulls, but every undercut adds mold cost and complexity. Where possible, reorient the feature to avoid a side action, or compare the tooling saving against the redesign effort.
Tolerances
Standard injection molding tolerances are typically around plus or minus 0.1 to 0.2 percent of the dimension. For a 100 mm part, this means roughly 0.1 to 0.3 mm. Tighter tolerances are possible, but they require careful material control, stable process conditions, and often a slower cycle. Discuss critical dimensions with the supplier before the mold is cut, because tolerance capability is built into the tooling and the process plan.
|
Do this
|
Avoid this
|
Common Injection Molding Defects and How to Correct Them
Even with a well-designed part and a carefully built mold, defects can appear when process parameters drift. Knowing the typical defects helps buyers ask the right questions and helps suppliers make faster corrections. Most defects are solved by adjusting temperature, pressure, speed, or cycle timing.
| Defect | What it looks like | Main cause | Typical correction |
|---|---|---|---|
| Sink marks | Small depressions on thick sections | Insufficient packing or excessive wall thickness | Increase holding pressure, shorten gate freeze time, or redesign the wall |
| Warpage | Part bends or twists after ejection | Uneven cooling or differential shrinkage | Balance cooling channels, adjust mold temperature, or add ribs |
| Short shot | Incomplete filling, missing detail | Low injection pressure, low melt temperature, or blocked gate | Raise injection speed and temperature, or enlarge the gate |
| Flash | Thin plastic film along the parting line | Low clamping force or worn mold surfaces | Increase clamp pressure, clean or repair the mold |
| Weld lines | Visible lines where flow fronts meet | Material splits around a core or hole and rejoins | Raise melt temperature, increase injection speed, or move the gate |
| Burn marks | Dark or black streaks near the end of fill | Trapped air compresses and overheats | Improve venting, reduce injection speed, or add overflow wells |
The corrections above are the first actions a molding technician tries, but every defect should be traced back to the process data before changing the tool. A supplier with documented process settings and proper inspection equipment can identify the root cause faster and avoid repeated trial shots. This is particularly important for complex products such as instrument housings and enclosures, where surface quality and dimension stability are critical to final assembly.
Where Injection Molding Is Used: Applications Across Industries
Because injection molding works with such a wide range of plastics and geometries, it appears in nearly every manufacturing sector. The examples below show how custom injection molding suppliers serve different markets, from industrial electronics to everyday household goods.
Industrial Instruments and Automation
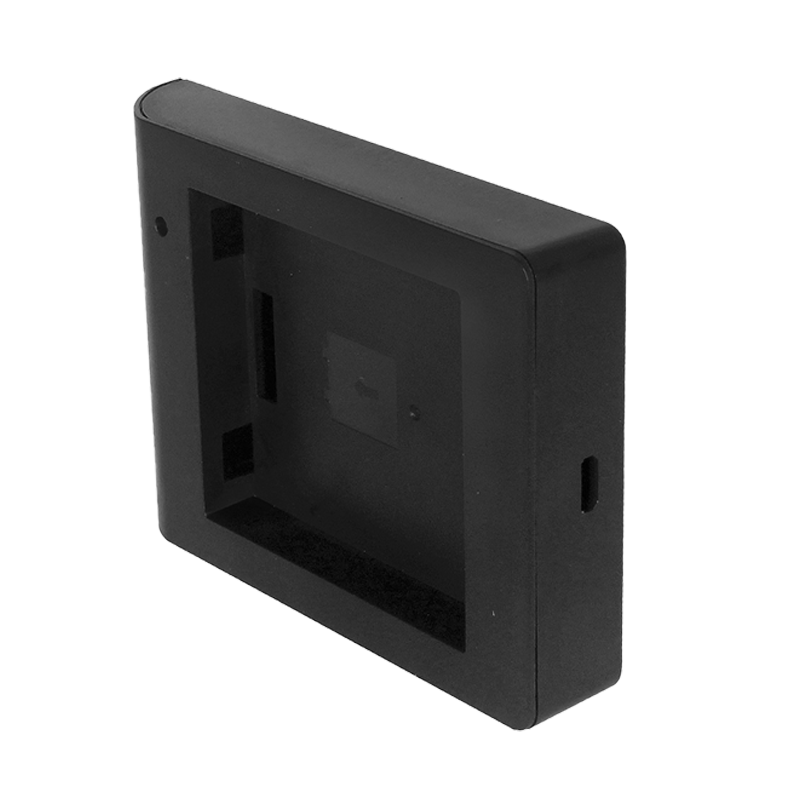
Instrument enclosures, detection accessories, electrical housings, and monitoring shells are typical injection-molded parts in the automation industry. These parts require stable dimensions for PCB mounting, flame-retardant materials, and good surface quality for branding. Complex parts like custom instrument housings are often molded with bosses, ribs, and ventilation slots created directly by the mold, eliminating secondary operations.
Automotive Components
Under-hood and interior plastics include radiator parts, filter elements, brackets, and mounting frames. Automotive parts often use glass-filled polyamide or polypropylene for heat and chemical resistance. Because automotive production runs are long, the efficiency of the injection molding cycle directly influences the piece price.
IoT and Smart Hardware
Robots, robot dogs, sensors, and smart home devices rely on injection-molded shells that combine lightweight construction with aesthetic design. These products often need multi-part assemblies, overmolded soft-touch features, and precise alignment for cameras and indicators.
Lighting Accessories
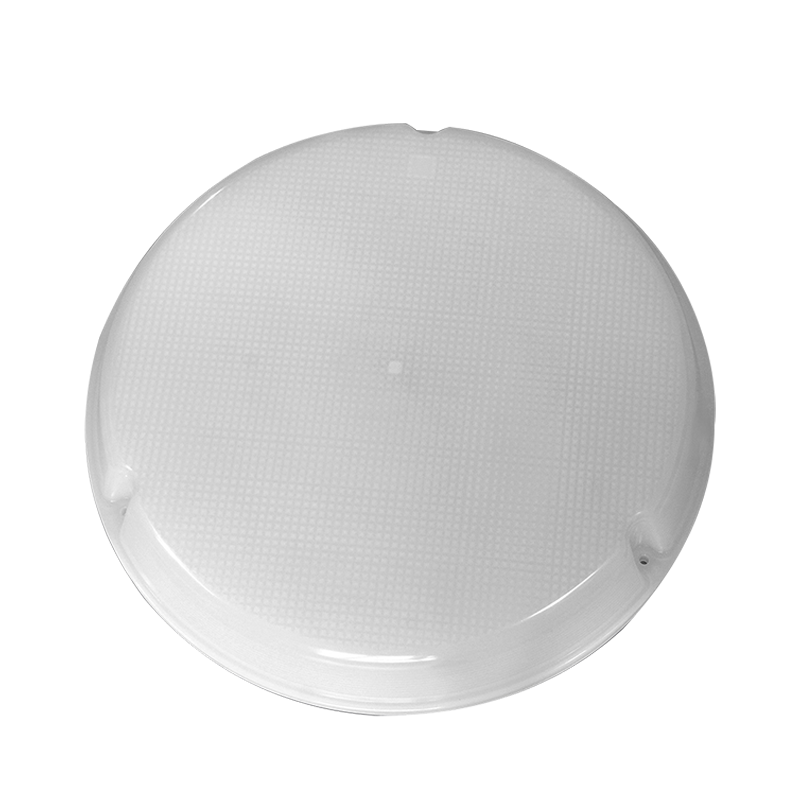
Plastic lampshades, baby lights, and wax-like decorative lamps depend on injection molding to produce transparent or translucent surfaces with good light diffusion. PMMA and polycarbonate are common choices, and the mold finish controls the optical effect.
Household and Kitchen Products
Peelers, mixers, storage boxes, garbage can covers, and water filtration systems are mass-produced by injection molding for global home appliance brands. Products like water filter housings require food-safe materials, pressure resistance, and leak-proof sealing surfaces. The high output rate of injection molding keeps the unit cost low enough for retail distribution.
Medical, Massage, and Personal Care Devices
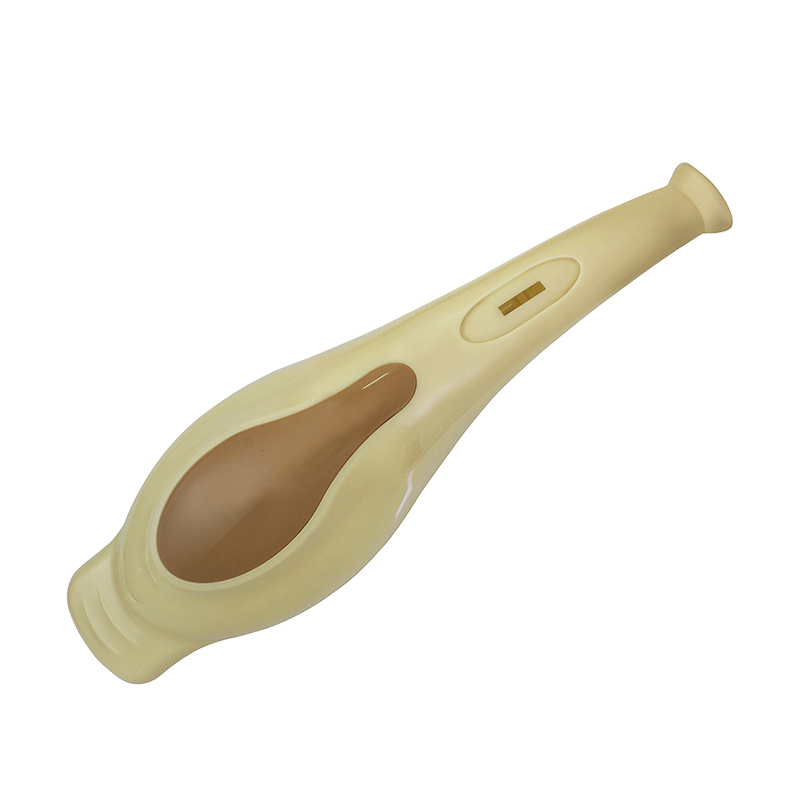
Medical accessories and massage equipment use injection-molded shells that are smooth, durable, and easy to clean. The material must handle repeated handling and occasional disinfection. A typical example is massager shells for personal care appliances, which need both a pleasant tactile finish and consistent structural strength.
Electrical, Safety, and Other Custom Parts
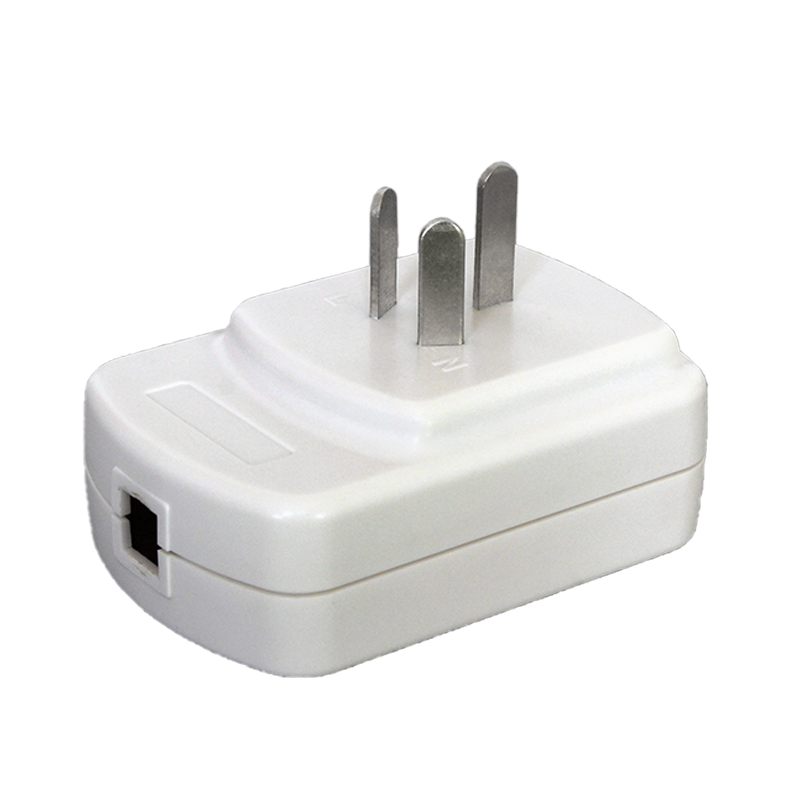
Connectors, plugs, adapters, battery holders, fire buckets, and sign boards all rely on injection molding. Many of these are custom parts made to a customer's drawing, with special UL-rated materials or self-extinguishing additives. A custom injection molding factory that handles this range of applications can be a true one-stop partner for original equipment manufacturers.
How to Choose a Reliable Injection Molding Manufacturer, Supplier, or Wholesaler
Choosing the right injection molding manufacturer is as important as the design itself. A good supplier saves cost, shortens the timeline, and prevents quality issues that only appear after mass production starts. The following selection criteria are the ones that experienced purchasing and engineering teams use when evaluating a new factory.
In-House Mold Making Capability
Suppliers that build molds in-house can control the most critical variable in the project: tooling quality. In-house mold design and machining shorten lead time, simplify engineering changes, and reduce the risk of miscommunication between the mold shop and the molding floor. For example, our factory in Yuyao, China, has been building molds since 1988 and operates more than 20 machining centers for mold construction, so we can review the part design, build the tool, and run production under one roof.
Machine Capacity and Shot Size Range
The machine line-up must match the size and weight of your part. A small monitoring shell and a large automotive bracket need different clamping forces and shot capacities. Our workshop currently runs 15 injection molding machines with shot sizes from 100 grams up to 3,500 grams, which covers everything from tiny connectors to sizable enclosures. When a supplier has a wide range of machines, parts of different sizes can be molded without compromising the production plan.
Quality Control and Inspection Equipment
Repeatable quality depends on stable processes and proper measurement. Look for a factory that documents process parameters and has testing equipment for dimensions, material properties, and surface quality. We maintain more than 20 sets of inspection and auxiliary equipment, and every batch is checked against the customer's drawing and tolerance requirements before shipment.
Engineering Support and One-Stop Service
The best collaborations start before the mold is cut. An experienced injection molding supplier reviews the drawing, flags potential molding issues, suggests material grades, and proposes small design changes that reduce cost without affecting function. A one-stop service model that covers product development, mold design, mold building, injection molding, and final assembly is especially valuable for complex products, because it removes the handoff risk between different vendors.
Communication, Prototyping, and Delivery
For overseas buyers working with a Chinese injection molding factory, communication speed is often the difference between a smooth project and a delayed one. Our company serves high-quality brands from Europe and America as well as listed domestic companies, and our sales and engineering staff support English and Spanish. Check whether the supplier can provide prototypes, sample approval documents, and a clear mass-production schedule before you place a large order.
Getting Started: Site Resources for Your Next Project
If you are evaluating injection molding for a new product, the following resources can help you move faster and make a better-informed decision.
- Contact our injection molding engineering team to review your part drawings and receive a feasibility assessment.
- Read our design guide for gas detector shells for a practical example of housing design for electronic equipment.
- See how our one-stop service model works from product development through tooling, molding, and final assembly.
Frequently Asked Questions About Injection Molding
How does injection molding work?Injection molding works by feeding plastic granules into a heated barrel, melting them into a viscous liquid, and then injecting the melt under high pressure into a closed metal mold. The plastic is held under pressure while it cools, solidifies, and is ejected as a finished part. The cycle then repeats automatically, which is why the process can produce hundreds of thousands of identical parts at a low unit cost. |
What is a typical injection molding cycle time?Cycle times usually fall between 20 and 90 seconds. Thin-wall parts such as caps and connectors can cycle in 10 to 20 seconds, while thick structural parts with 4 mm walls may take several minutes. Cooling represents about 60 percent of the cycle time, so a small reduction in wall thickness almost always speeds up production. |
What materials can be used for injection molding?Most thermoplastics can be injection molded, including polypropylene, polyethylene, ABS, polyamide, polycarbonate, acetal, PMMA, and PC/ABS blends. Glass-filled and mineral-filled grades are commonly used when the part needs higher stiffness or better dimensional stability. The final choice depends on mechanical requirements, chemical resistance, temperature range, appearance, and budget. |
Is injection molding cost-effective for small quantities?Injection molding requires an upfront investment in a steel mold, so small runs of 100 to 1,000 parts are usually more expensive than CNC machining or 3D printing. The economics improve dramatically as volume increases. For runs above 10,000 parts, injection molding typically has the lowest cost per part of any plastic manufacturing process. |
What tolerance can injection molding hold?Standard commercial tolerances are around plus or minus 0.1 to 0.2 percent of the dimension, which means roughly 0.1 to 0.3 mm for a 100 mm part. With careful mold design, material control, and process monitoring, experienced manufacturers can hold tighter tolerances on selected dimensions, but every tightened tolerance adds cost and should be limited to where it is functionally necessary. |
What is the difference between a cold runner and a hot runner mold?In a cold runner mold, the plastic in the runner solidifies with each cycle and is later trimmed from the part and recycled. A hot runner mold keeps the runner melt hot using internal heaters, so no runner scrap is produced. Hot runner molds cost more and need more maintenance, but they save material and shorten cycle time for high-volume parts. |
How do I choose an injection molding manufacturer or supplier?Look for a manufacturer with in-house mold making, a machine range that matches your part size, documented quality control, and engineering support for design changes. Ask about communication, sample lead times, and mass-production capacity. A supplier that can develop the mold and run production under one roof reduces handoff risk and shortens the overall timeline. |
Final Thoughts: Making Injection Molding Work for Your Product
So how does injection molding work, and what should you remember when you bring a part to production? Injection molding works by melting plastic granules and forcing the melt into a closed steel cavity under high pressure, where it cools and becomes a solid part. The machine, the mold, the material, and the part design must all work together, because each one influences cycle time, quality, and cost.
For buyers, the practical path is to start with a manufacturability review before investing in tooling. Share the 3D model and the material requirements with a qualified injection molding manufacturer, ask for feedback on wall thickness, draft, gate location, and tolerances, and set the material before the mold is cut. This small investment in engineering time pays for itself many times over in shorter lead times and fewer rejected samples.
With more than three decades of experience, in-house mold making, a wide range of injection molding machines, and a full one-stop service from product development to assembly, we help customers turn plastic part ideas into reliable mass production. Whether your project is a small sensor housing or a large industrial enclosure, a clear understanding of how injection molding works will help you ask better questions and get a better result.