English
 Español
 简体中文
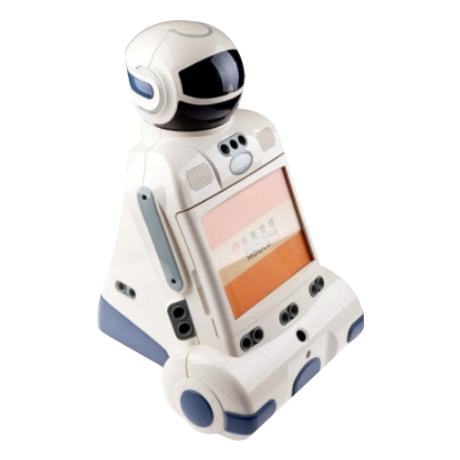
简体中文Designing a plastic robot dog for injection molding involves several considerations. Here are the key steps involved in the process:
Conceptualization: Start by defining the desired features, appearance, and functionality of the robot dog. Sketch out rough designs and identify the main components such as the body, limbs, head, and tail.
3D Modeling: Use computer-aided design (CAD) software to create a detailed 3D model of the robot dog. Ensure that the design incorporates the necessary mechanical and electronic components, such as motors, sensors, and battery compartments.
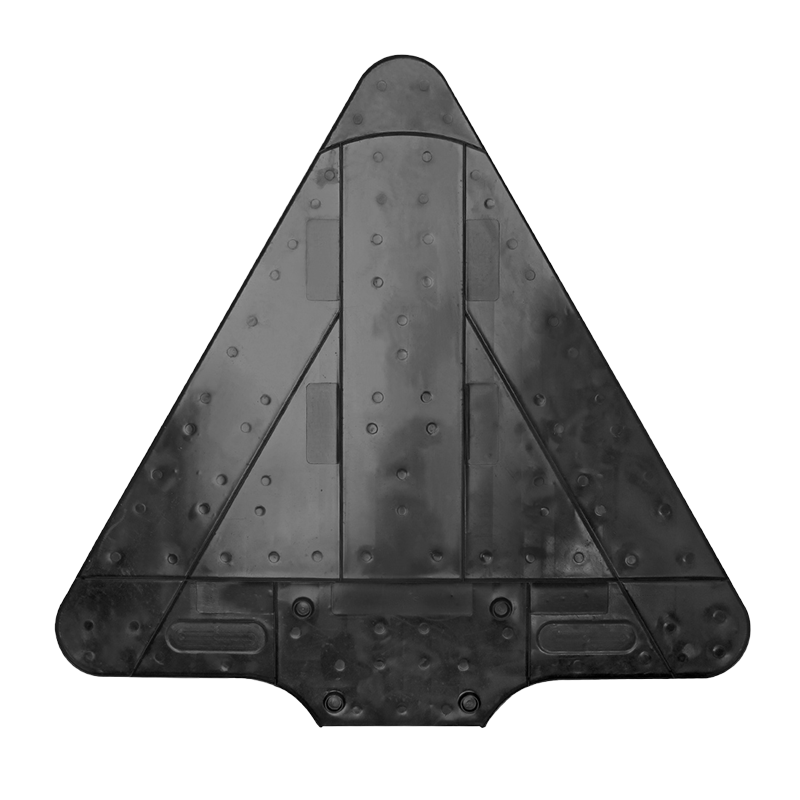
Design for Injection Molding: Modify the 3D model to accommodate the requirements of injection molding. Consider factors like draft angles, wall thickness, parting lines, and gate locations. Add features like ribs and gussets to enhance structural integrity.
Material Selection: Choose a suitable plastic material for injection molding that possesses the desired mechanical properties, such as durability, flexibility, and color options. Common materials used for robot dog parts include ABS (Acrylonitrile Butadiene Styrene) and polypropylene.
Tooling Design: Collaborate with an experienced tooling engineer or manufacturer to design the injection mold. Determine the number of mold cavities and consider factors like cooling channels, ejection mechanisms, and venting to ensure optimal production efficiency.
Prototype Development: Create a prototype of the robot dog using rapid prototyping techniques such as 3D printing or CNC machining. This step helps validate the design and identify any necessary modifications.
Mold Production: Once the design and prototype are approved, proceed with manufacturing the injection mold. Ensure the mold is built with high precision and meets all the specifications required for the production of the robot dog parts.
Injection Molding: Set up the injection molding machine, melt the chosen plastic material, and inject it into the mold cavities under controlled conditions of temperature, pressure, and cooling time. This process forms the individual parts of the robot dog.
Assembly and Finishing: Remove the parts from the mold, perform any necessary post-processing steps such as trimming, deburring, and surface finishing. Then, assemble the robot dog by connecting the different components, including motors, sensors, and wiring.
Quality Control: Implement quality control measures throughout the manufacturing process to ensure the robot dog meets the desired standards. Conduct inspections, functional tests, and durability tests to validate the product's performance and reliability.