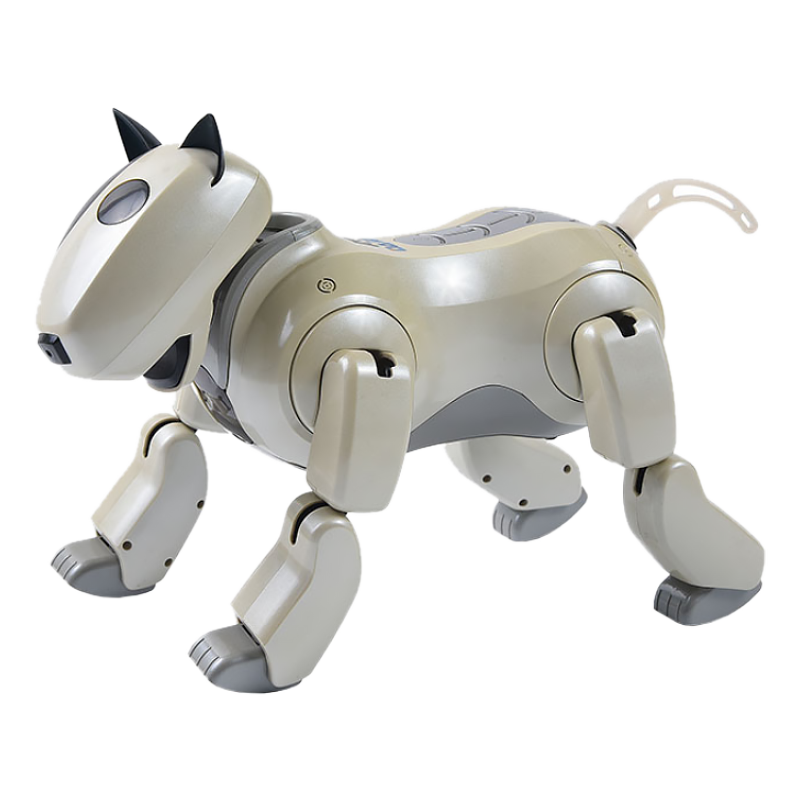
Industry Knowledge
How are molds for plastic robot dog injection molding typically designed and manufactured?
Molds for plastic robot dog injection molding are typically designed and manufactured using a combination of computer-aided design (CAD) software, CNC machining, and traditional mold-making techniques. Here is a general overview of the process:
1. Design: The first step is to create a 3D CAD model of the plastic robot dog. This model serves as the basis for designing the mold. The mold design process involves creating separate parts that fit together to form the mold cavity and core. The design must account for the required draft angles, gate location, and other considerations for successful injection molding.
2. Toolpath generation: Once the mold design is complete, the next step is to generate toolpaths that will guide the CNC machines that will manufacture the mold. These toolpaths are based on the 3D CAD model and specify the cutting paths for the CNC machines.
3. CNC machining: The mold components are machined from high-strength materials, such as steel or aluminum. The CNC machines use toolpaths to cut the mold components to precise specifications.
4. Finishing: The mold components are then polished or textured to achieve the desired surface finish.
5. Assembly: The mold components are assembled to form the final mold. This process may involve fitting inserts, such as cooling channels or ejector pins, into the mold.
6. Testing: The mold is tested to ensure that it meets the required specifications for the plastic robot dog. This may involve a trial run of the injection molding process to produce test parts that are inspected for accuracy and quality.
7. Production: Once the mold has been tested and approved, it is ready for production. The mold is installed into an injection molding machine, and the plastic robot dog parts are produced in high volume.
Overall, the design and manufacture of molds for plastic robot dog injection molding require expertise in both mold design and manufacturing processes. The resulting mold must be precise and durable to produce high-quality plastic robot dog parts efficiently and reliably.
How are different colors and finishes achieved in plastic robot dog injection molding?
Different colors and finishes can be achieved in plastic robot dog injection molding using a variety of methods. Here are some of the most common:
1. Color masterbatch: Color masterbatch is a pre-mixed pigment that is added to the plastic resin before injection molding. This method is simple and cost-effective, and it can produce consistent colors. However, it may not be suitable for all colors, and it can limit the design flexibility.
2. Dry pigment: Dry pigments can also be added to the plastic resin before injection molding. This method allows for more flexibility in color design and can produce unique color effects. However, it requires more processing time and can be more expensive than using color masterbatch.
3. Co-injection molding: Co-injection molding is a process that involves injecting two or more materials simultaneously to produce a part with different colors or finishes. For example, a plastic robot dog could be produced with a white body and black ears by injecting white and black materials in the same mold. This method can produce complex parts with multiple colors and textures, but it requires specialized equipment and expertise.
4. Post-molding finishing: Post-molding finishing techniques can also be used to add color and texture to plastic robot dog parts. These techniques include painting, hot stamping, and laser engraving. Painting can produce a wide range of colors and finishes, but it can add to the cost and time of production. Hot stamping and laser engraving can produce unique textures and designs, but they are more limited in the range of colors they can produce.
Overall, the choice of method for achieving different colors and finishes in plastic robot dog injection molding will depend on factors such as design requirements, cost considerations, and production volume. The selection of the method should be carefully considered to ensure that it meets the desired quality and aesthetic requirements for the final product.
What kind of post-processing may be necessary after injection molding a plastic robot dog?
After injection molding a plastic robot dog, there are several post-processing steps that may be necessary to achieve the desired final product. Here are some common examples:
1. Trimming and deburring: Injection molding can produce parts with excess material, known as flash, or with rough edges that require trimming and deburring. This can be done manually or with automated equipment.
2. Assembly: Depending on the design of the plastic robot dog, the assembly may be required to add components such as eyes, limbs, or accessories. This may involve additional adhesives or fasteners.
3. Surface finishing: Additional surface finishing may be required to achieve a specific texture or finish. This can include polishing, sanding, or painting.
4. Testing and inspection: Once the plastic robot dog is complete, it must be tested and inspected to ensure that it meets the required specifications for strength, durability, and functionality. This may include visual inspections, measurement tests, and functional tests.
5. Packaging and shipping: Finally, the plastic robot dogs must be packaged and shipped to their destination. This may involve specialized packaging to protect the parts during transport.
Overall, the specific post-processing steps required will depend on the design requirements for the plastic robot dog and the desired final product. These steps are important to ensure that the plastic robot dog is functional, durable, and aesthetically pleasing to the end user.

 English
 Español
 简体中文
简体中文


